
February 2019 marks the 40th anniversary of the federal legalization of homebrewing in the U.S. The modern homebrewing movement spans casual hobbyists and dedicated technicians driving craft beer culture and trends. Its strength is proven in numbers: The American Homebrewers Association, founded in 1978, currently claims 46,000 members.
There are many ways to make your own beer, but the three main methods are all-grain, partial-mash, and all-extract homebrewing. John Palmer, author of “How to Brew: Everything You Need to Know to Brew Great Beer Every Time,” likens these three processes to “making soup from scratch, making soup with beef bouillon and some fresh vegetables, or opening a can of Campbell’s.”
In other words, the process can be as easy or as involved as you make it, whether it’s a 1-gallon batch on your stovetop, or a 10-gallon batch produced with all the bells and whistles in a near-professional-grade garage brewery. It all depends on your space, time, and desires.
Each method, from all-extract to all-grain, requires equipment and techniques that increase in complexity as you progress. In fact, there are multiple derivations of all-grain homebrewing: continuous sparging, batch sparging, and “brew in a bag,” or BIAB.
Whichever method you choose, the result – your very own beer – is more attainable than you think. Here are all the basic ways to homebrew, explained.
Getting Started (Equipment)
Along with your ingredients (malted barley or malt extract, hops, water, and yeast), there is essential equipment you’ll need before starting your brew day. First, you need a heat source; this can be your stove. You need at least one large brew pot, called a “kettle.” (With all-grain brewing, you’ll need two large pots, unless you are using the brew-in-a-bag method. More on that later.)
To best transfer your finished wort from the kettle to the fermenter, you need a siphon and tubing. Finally, you need a fermenter, the vessel that will hold the liquid (wort) that will ferment and become beer. This will also require an airlock, which you’ll place in the top of the fermenter, either in the neck, if you’re using a glass jug (called a “carboy”), or into the top of a sealed plastic bucket. This will allow carbon dioxide to escape from the fermenter while your yeast is at work.
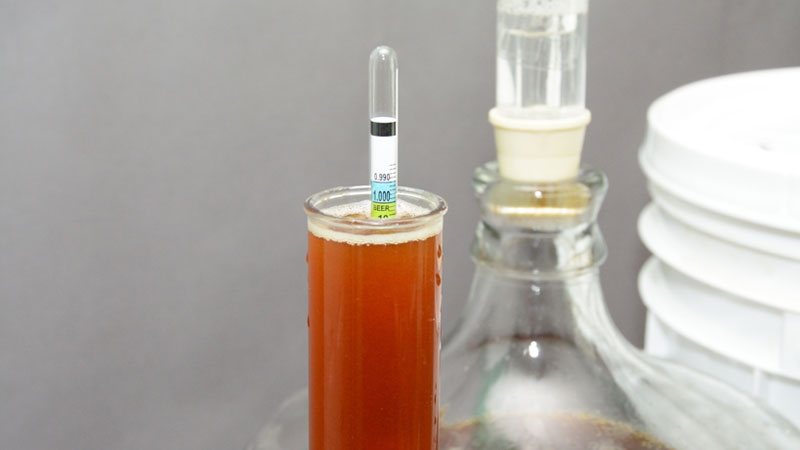
Other essentials include a hydrometer, which helps you measure things like alcohol content; and last but certainly not least, cleaner and sanitizer. Every piece of equipment you use, including your hands, must be cleaned and sanitized every step of the way.
All-Extract Homebrewing
As Palmer writes in “How to Brew,” making beer can be broken down into three parts: making the wort, fermenting the wort, and bottling or packaging the finished beer. On your brew day, you’ll be making the wort and preparing it for fermentation. All in all, the brewing process will take about a month; after the brew day, which will require approximately three hours, the wort will ferment for two weeks, then “condition” in bottles for two weeks, adding clarity and effervescence to your brew.
All-extract brewing, no doubt the easiest form of homebrewing, is what Palmer compares to opening a can of Campbell’s. Instead of making wort by manually extracting starches from malted barley, you use pre-packaged malt extract to kickstart your process.
Malt extract comes in two forms, liquid malt extract (LME) and dry malt extract (DME). Freshness is paramount for both. A subpar extract will make your beer taste “flat, soapy, and old,” Palmer says.
In general, liquid malt extract will yield “more nuanced, fresh malt aroma,” while dry malt extract, though perfectly suitable, “may miss out on some of the nuances of fresh grain aroma and flavor,” Palmer says. It all depends on freshness. Palmer recommends purchasing liquid malt extract from a homebrew shop selling “a barrel of extract a week — that extract is very fresh.”
How much extract you buy will depend on your recipe. You can make as much or as little homebrew as space and energies allow, but five gallons is a popular happy medium.
Once you’ve purchased your super-fresh extract and equipment, you can jump right in.
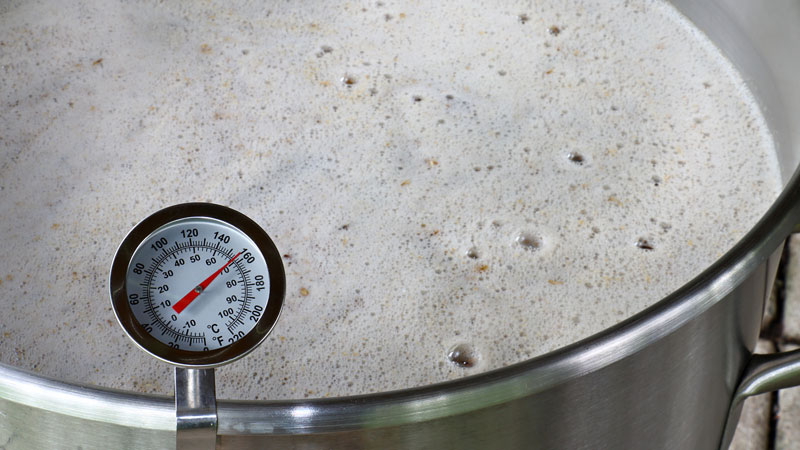
Start by sanitizing your equipment. Then, you’ll pour the can of liquid extract, or bag of dry extract powder, into a pot of water (your kettle). Boil for 30 minutes. Add hops at intervals, depending on your recipe. After boiling, cool the wort and transfer it into a clean, sanitized fermenter.
Fill the fermenter to your desired brew size (e.g., 5 gallons) by adding cool water. When the wort cools to your target temperature (usually 70 to 75 degrees Fahrenheit), add your yeast. This is called “pitching” the yeast. If you’ve purchased liquid yeast such as Wyeast, you’ll need to activate it several hours earlier. If you have dry yeast, it’s best to “rehydrate” it ahead of time. More on that here.
After you pitch the yeast, seal the fermenter and shake it to create oxygen. This will help your yeast have healthy appetites for the simple sugars in your wort, which it will convert to CO2 and ethanol, creating beer.
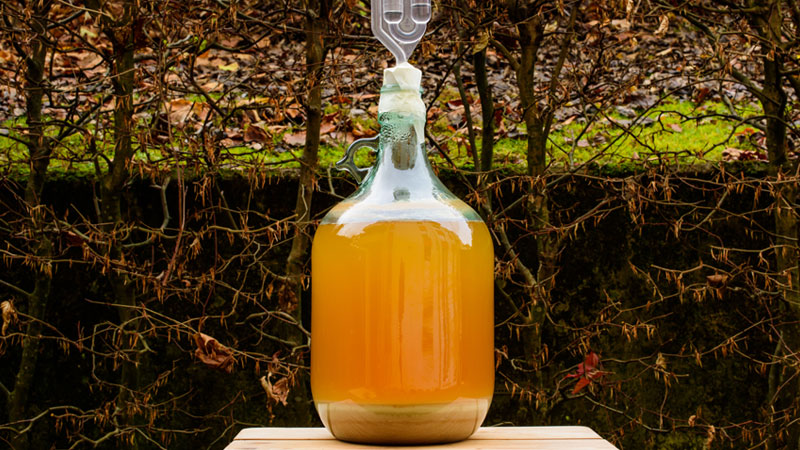
With all homebrewing methods, you want to seal your fermenter with a clean, sanitized airlock and bung, a rubber stopper that will create an airtight seal and hold the airlock in place. It’s also ideal to store your fermenter in a cool, dark place; technically, it should be a temperature-controlled environment, but many homebrewers use a closet or basement.
Keep an eye on that fermenting wort; the liquid will quite literally come alive, bubbling and frothing as the yeast eats the sugars and makes beer. In two weeks, you’ll be ready for bottling.
Extract With Specialty Grain Homebrewing
This method starts the same as all-extract brewing, with one added step: While boiling your water-extract mixture, you add specialty grains to the pot in a mesh bag. Then, you dunk and swirl them as they “cook” for 15 to 30 minutes.
“It’s exactly like making tea,” Palmer says. After “steeping,” you can remove your “tea bag,” discard it, “and you have your wort,” he says.
Homebrewers might opt for this method if they’re seeking a slightly more complex brew. “Specialty grains do not contribute lots of fermentable sugars; they really only contribute flavors,” Palmer says.
Partial-Mash Homebrewing
Partial-mash homebrewing, also referred to as a “mini mash,” is a combination of grain and extract brewing. In this method, a portion of the wort’s fermentable sugars come from mashing the grains in a kettle full of water with a mash paddle (you can buy a this at a homebrew store; in a pinch, use the biggest spoon you’ve got). Many brewers compare mashing to making oatmeal.
After you’ve mashed your grains, transfer the wort from that kettle (also called the “mash tun”) to your boiling kettle, where you’ll add the malt extract and water mixture. Bring to a boil and proceed as with the all-extract method.
Partial-mashing is handy for homebrewers who lack a large enough kettle to do an all-grain mash, and for those who have mastered all-extract homebrewing and are looking for a new challenge.
All-Grain Homebrewing
“All-grain brewing is really making beer from scratch,” Palmer says. It’s the most complex method, and the one used by professional brewers. The good news? It’s still suitable for beginners.
You start by soaking malted, milled grains in hot water to create a “mash.” This converts the starches in the grains to simple sugars, which, along with hot water, will make “wort.” Next, boil the wort in a kettle with hops at your desired intervals (it depends on your recipe) for one hour. If you’re spicing things up with other fruits or herbs, you’ll want to add these at the end of the boil.
Finally, you cool the liquid. Most first-time homebrewers do this by placing the kettle in an ice bath — this can be an ice-water-filled kitchen sink if it’s a smaller batch, or in your bathtub if you’re using a larger pot. As you get more advanced, you’ll want to purchase another piece of equipment called a wort chiller, which is essentially a copper coil you hook up to your sink and then place the kettle (after it’s been sanitized!), allowing cold water to circulate through the coils and cool down the wort in the kettle.
Next, transfer the cooled wort into the fermenter. All that’s left to do is pitch the yeast, shake the fermenter, put the airlock in place, and let fermentation begin.

Brew-in-a-Bag (BIAB)
The brew-in-a-bag (BIAB) method became popular in the last 10 years, making it a relatively modern offshoot of all-grain homebrewing. This method is both easier and more efficient than other types of all-grain homebrewing.
BIAB simplifies all-grain brewing because, instead of mashing malt in the mash tun, you put the grains in a bag about the size of a pillowcase, put them back in the pot, and allow the grains to become saturated with water. Then, once saturated, you let the sugary liquid “drip-drain” back into the kettle, Palmer says.
A major benefit of BIAB is that you only need one kettle. “As soon as it’s done draining, you can start to boil,” Palmer says.
“It’s a great method,” he says. However, “if you’re the kind of hobbyist that wants to buy equipment and spend a lot of time on the hobby — and many people do — some of the other methods are more appealing.”
Batch Sparging
In brewing, “sparging” means rinsing your grains with hot water after the mash. This way, you extract as much sugar water as possible from the grain bed as you transfer wort to your kettle.
Batch sparging is a form of all-grain brewing in which the brewer “sparges” in multiple batches, usually twice.
“When the mash is done, you drain all of the wort out of the mash into your boiling kettle,” Palmer says. Doing this usually yields “about half of your total batch size,” he says. For example, if you are making a 5-gallon batch, your yield will be 2-and-a-half gallons. At this point, you slowly add another 2-and-a-half to 3 gallons of water into your mash tun, allow it to soak up more sugars, and then drain that wort into your kettle for your full boil.
Continuous Sparging
Continuous sparging, also called “fly sparging,” requires two kettles. You position them vertically so one can drain into the other: for example, your mash tun might sit on your stove, and your kettle on the floor.
“You set up one vessel above the other, and trickle water into the top of the grain bed as you extract wort from the bottom of the grain bed, creating a continuous flow,” Palmer says. It’s tricky — but possible! — in small kitchens.
Continuous sparging is the method used by most commercial brewers because it is technically the most efficient, but, for a homebrewer, the difference is minimal, Palmer says.
Homebrewing Resources
Palmer recommends reading books (like his!) and watching videos to learn how to homebrew. Free resources include American Homebrewers Association video tutorials, Brewing TV, BeerSmith, and podcasts, such as The Brewing Network.
“If you can watch somebody else do it, and realize how easy it is, you’re there,” Palmer says.